 Using the Inspection Invoice Module
Use the Invoice module to create and send an invoice for a completed inspection.
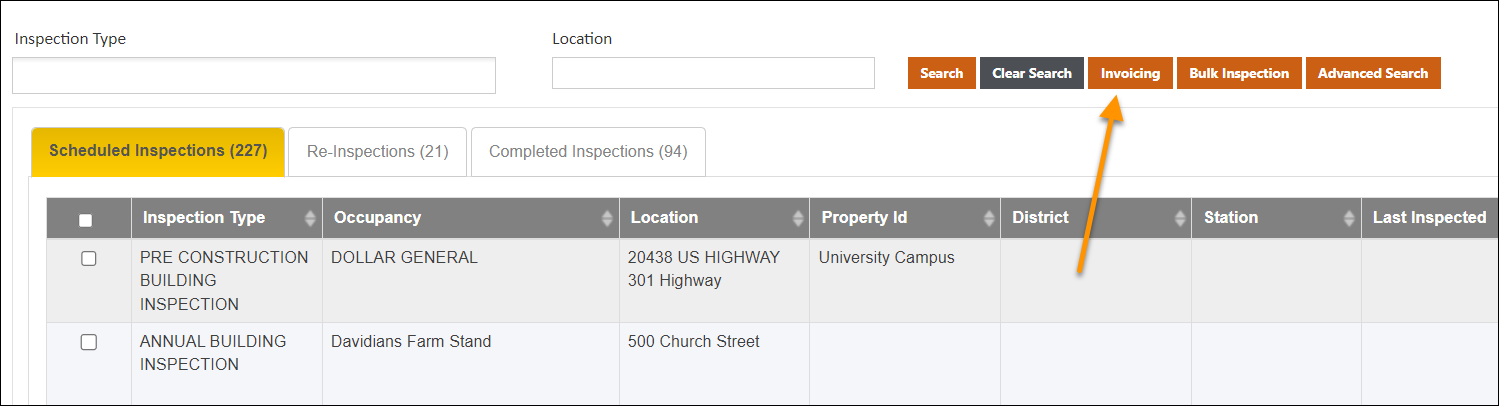
You can access the Invoice module by clicking the Invoicing button on the Inspection dashboard. Note: To access the Invoice module, your administrator must setup your Security Role with permission to use it.
Invoice landing page
You will see the Invoices tab and Invoice History tab. The Invoices tab lists all the outstanding Invoices, and the Invoice History tab lists all the historical Invoices. You can click on any column header (except Invoice) to sort the invoices by that data point.
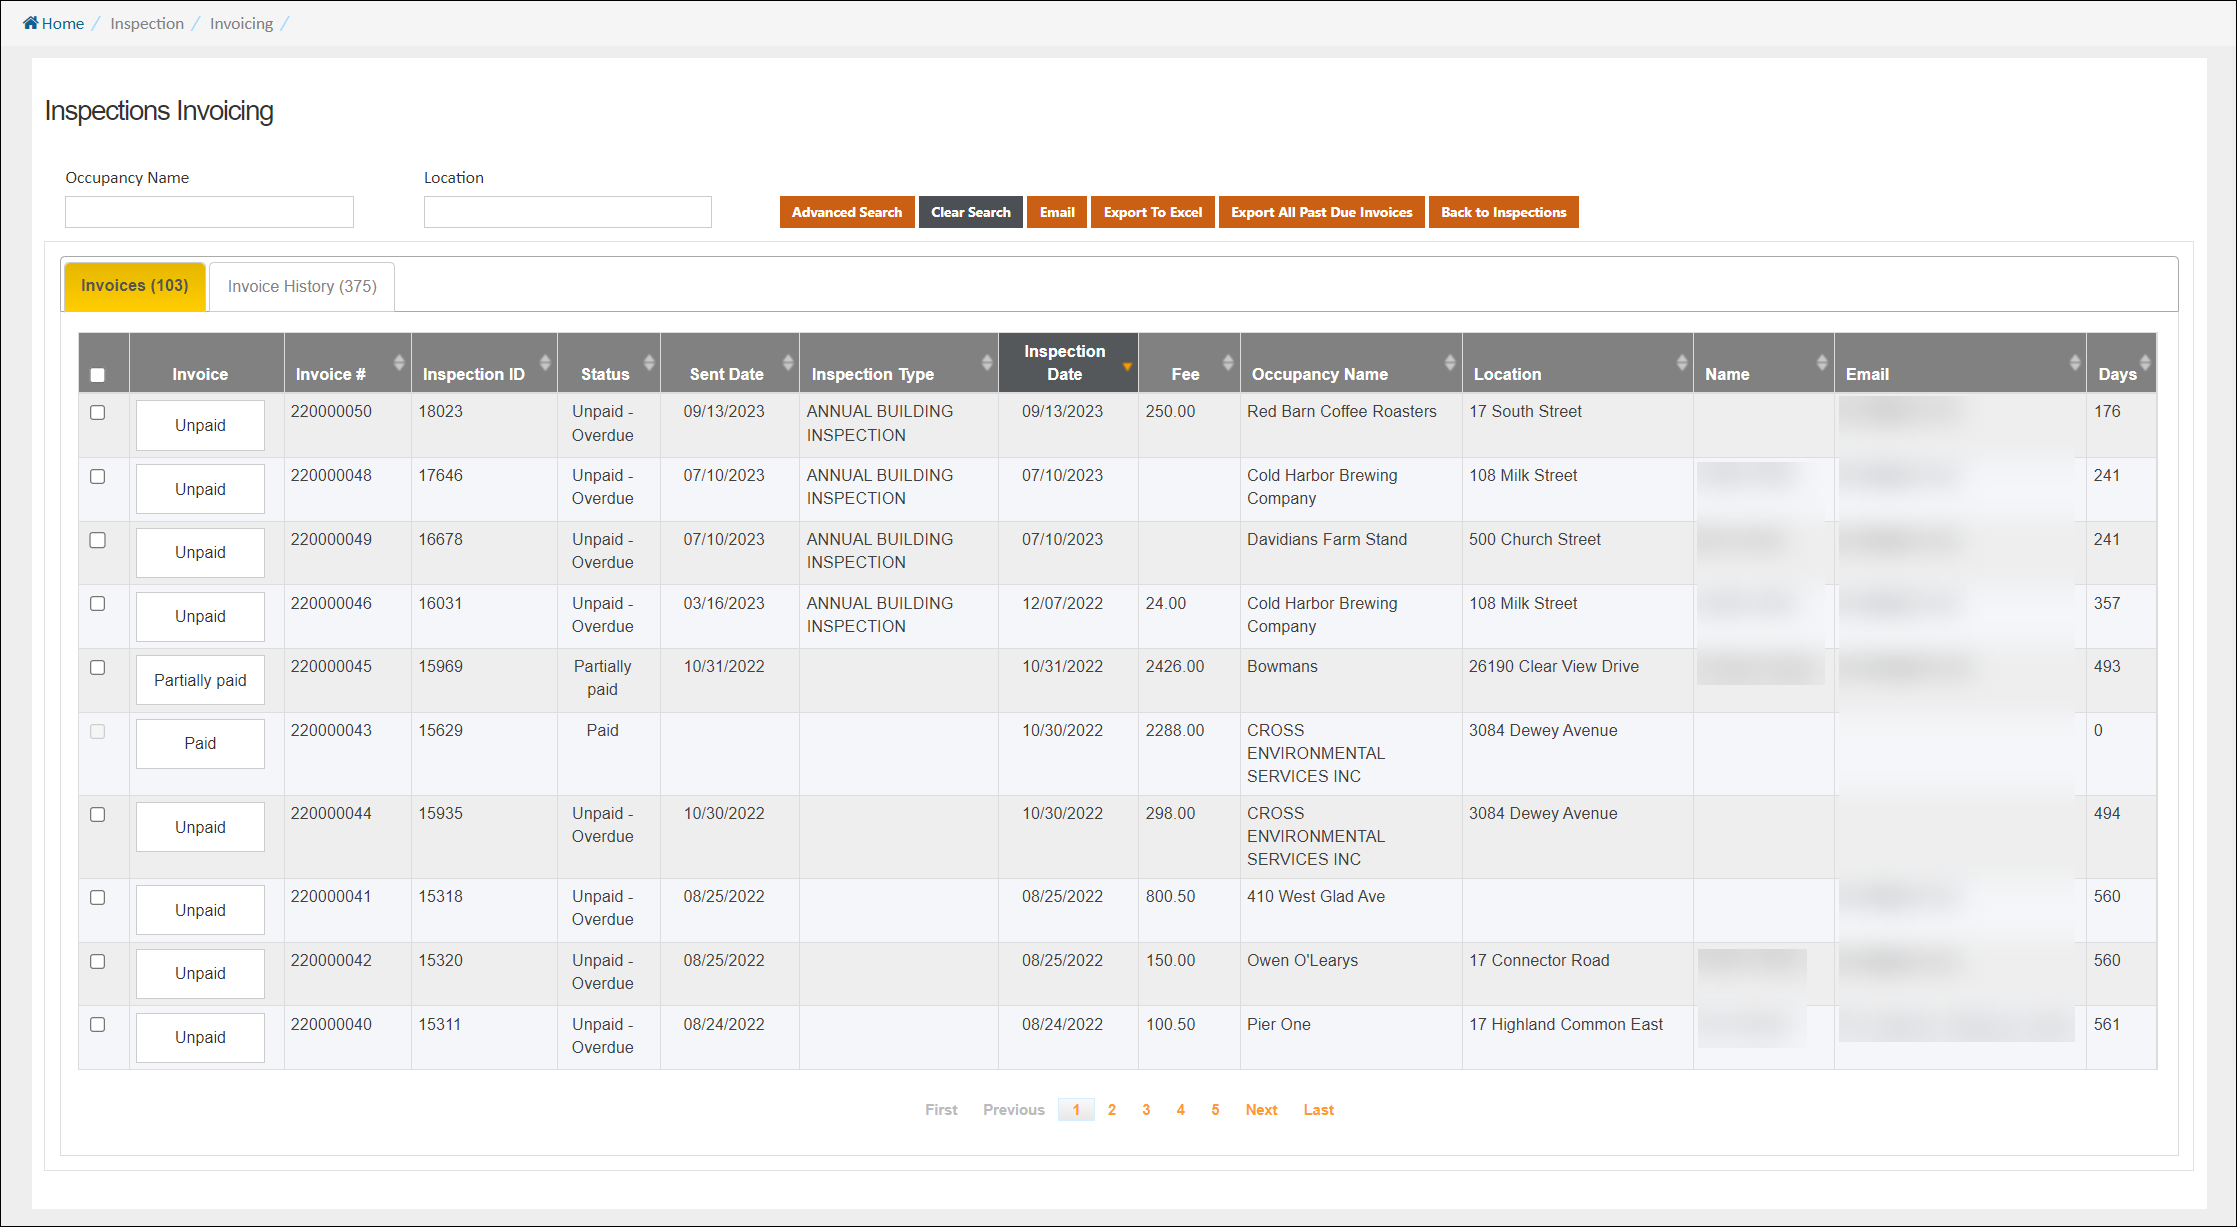
You can search for Invoices by typing in the Occupancy Name and Location or by clicking the Advanced Search button to access more search options.
Email: Click to generate and send all selected Invoices to the primary contact email address configured for the Occupancy.
Export To Excel: Click to export all selected Invoices to an Excel spreadsheet.
Export All Past Due Invoices: Click to export all past due invoices as PDF's in a zipped folder.
Invoice: Click the button to open a PDF version of the inspection invoice. The button shows the current invoice status:
-
Generate: The invoice has not been generated
-
View: The invoice has been generated but not emailed
-
Unpaid: The invoice has been emailed but is not yet paid
-
Paid: The invoice has been paid or written off
Generate and view an invoice
Once an inspection has been marked complete, that inspection becomes available in the Invoice module. The Invoice column displays the current status and will show 'Generate' if the invoice has not been generated. Click the 'Generate' button to open a PDF of the invoice form. If the 'Complete Inspection and Send Invoice' button was used when completing the inspection, the Invoice column will display 'Unpaid' instead of 'Generate' since the invoice was already generated and emailed.
Note: The Inspection or Occupancy must have a Primary Contact before you can generate an invoice.
You can save or print the PDF invoice or click the checkboxes next to the inspections to select them, and then click the Email button to email the selected invoice(s).
The invoice text will change based on whether there are any fees associated with the invoice. Go here to learn about creating Invoice Templates.
Mark an invoice as complete
Once an invoice has been generated it can be marked complete. Click on the invoice to open the 'Complete Invoice' data entry form.
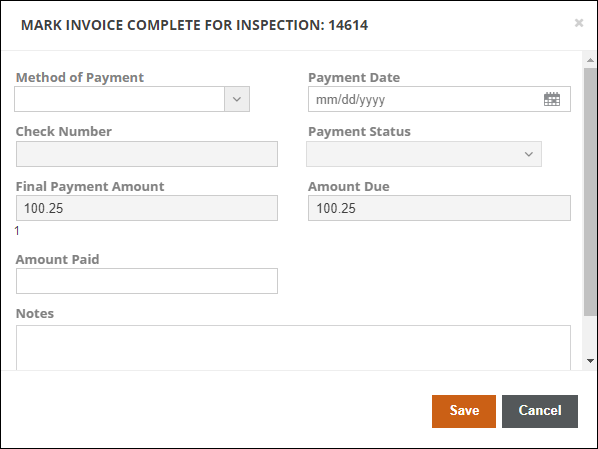
Method of Payment: Select the type of payment
Payment Date: Select the date the payment was received
Check Number: You can record the check number if the payment was made by check
Payment Status: Select from 'Paid' and 'Unpaid - Write Off'
Final Payment Amount: Total payment amount of all fees
Amount Due: Amount currently due
Amount Paid: Enter the amount that has been paid
Notes: Any notes entered are available for review on the Invoice History page
Save: Click to save changes and mark the invoice complete
Cancel: Click to discard your changes and leave the invoice incomplete